Briefly cooking the bananas in this maple streusel banana bread concentrates their flavor and reduces moisture, giving you a tender loaf with maximum banana flavor. Oat streusel with a touch of maple is the perfect cozy finish!
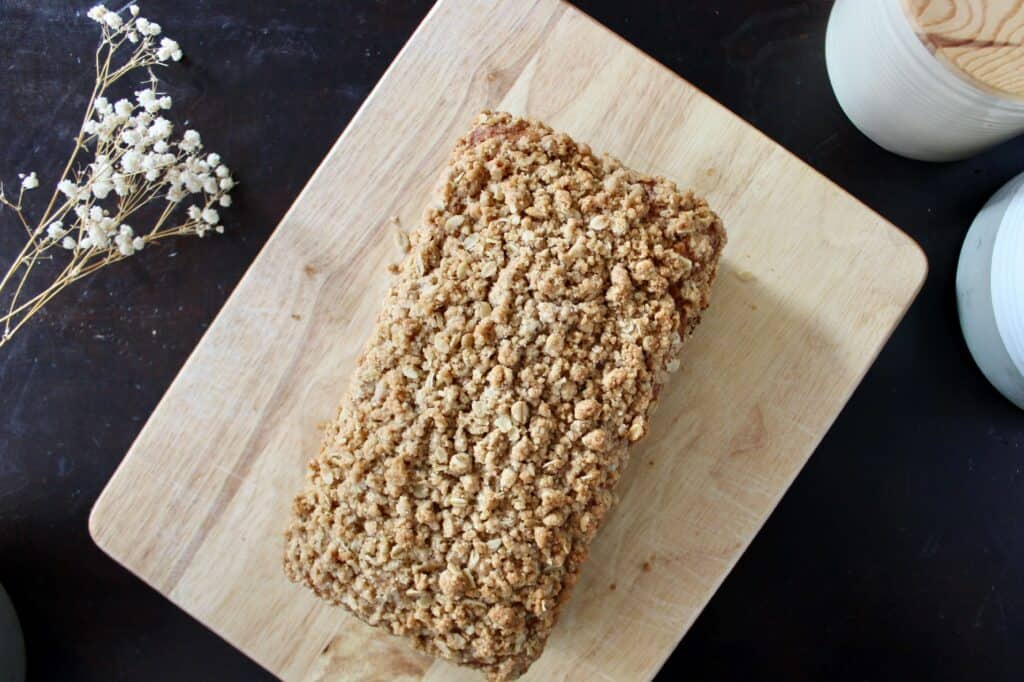
The banana bread I grew up eating was dense, slightly gooey, and delightfully banana-y. I would tear apart my slice and eat it chunk by chunk, starting with the crust and saving the gooey center for last. Which is a pretty weird way to eat what is basically a piece of cake. Anyway, despite savoring each slice to the last crumb, it always seemed to be gone too soon.
Once I became interested in cooking and baking, I got hooked on trying new recipes. I rarely made the same one twice. As a result, I’ve baked quite a few banana breads, all lovely in their own way. But I never got the loaf I was looking for: tender, sweet, and packed with banana flavor.
The Proof is in the Purée
As I understand it, the crux of banana-breadery is this: packing more bananas into your batter gives you more banana flavor, but makes your loaf denser. Thus, the recipes I tried with the most fruit and the most distinct flavor leaned on the spongy side. On the other hand, the fluffiest loaves had a more subtle flavor than I preferred. What’s a girl to do??
As is often the case, I stumbled across my answer when I wasn’t looking for it. While browsing for fall baking inspiration, I came across a tip from King Arthur Baking for pumpkin desserts. For the best flavor and texture, they recommended cooking down pumpkin purée. This reduces the moisture in the purée, concentrating its flavor and preventing the baked good from becoming soggy. As a bonus, the pumpkin is also caramelized (yum!), and any spices cooked with it are toasted (see my last tip of the day).
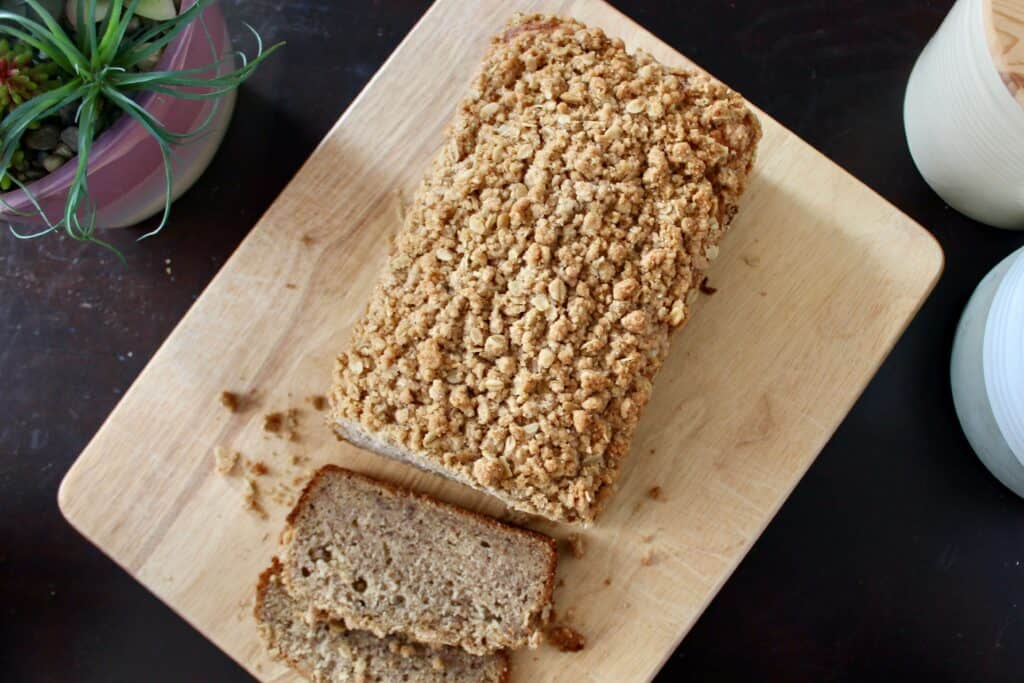
I loved the results in my pumpkin bakes, so I tried the same technique with the mashed bananas in my banana bread recipe. I ended up with a warm, distinct banana flavor and sturdy but tender texture. (We’re not in fluffy cake territory, but there’s a lot of fruit in there, OK?) To top it off, I added an oat streusel with a touch of maple extract. You can always leave off the maple streusel topping, but those crunchy crumbles are the perfect ending to a tender slice, torn apart and savored bit by bit.
Maple Streusel Banana Bread: What to Know
- Bananas: For this recipe, you’ll need about four large, very ripe bananas. Ideally, the bananas should be brown in spots or fully brown. Some black spots are OK as long as you don’t notice any mold, liquid, or funny smell. If your bananas are still yellow, it’s worth waiting for them to ripen—they won’t be as sweet or flavorful if they’re underripe. To speed up ripening, keep them in a paper bag at room temperature for a couple of days, or check out other tips from The Kitchn.
- Prep: You’ll want your ingredients at room temperature (not cold) so that the batter comes together and aerates properly. I take my butter, buttermilk, and egg out of the fridge about an hour before I’m ready to bake. If you forget, stick your egg in some warm water and your butter under a heated measuring cup while you measure the other ingredients. Use the microwave to soften the butter at your own risk—if you do, keep the power level at 30% and check the butter every 30 seconds. You’ll know it’s softened properly when you can press on it and leave an indentation, but it’s not shiny or greasy.
- Make-ahead option: To save time on baking day, you can cook the banana purée up to three days in advance and prepare the oat streusel up to seven days ahead. Both should be stored in airtight containers in the refrigerator. If making the purée ahead, let it come to room temperature with the other ingredients before baking.
- Pick your pan: This recipe is designed for a 9×5” metal loaf pan. You can substitute other pans if needed; just keep in mind that you’ll need to adjust the bake time, and the results may be slightly different. For glass pans, the banana bread may need to bake 5–10 minutes longer. The oven temperature is already fairly low to limit the crust darkening, so you should be able to keep it at 325°F. Smaller pans will likely take 5–10 minutes less if filled ⅔ full. If filled with more batter (try not to exceed ¾ full), they may take longer.
Tip of the Day: Order Matters
As a fairly impatient person, I often cut corners early in my culinary journey. A lot of dishes became “one-pot” or “one-bowl” dishes in my kitchen. However, I’ve learned over time that most of those steps that seem finicky have a specific purpose and can directly impact the outcome of a dish. The order (and manner) in which ingredients are added to a recipe is one of them. In this recipe, there are three main steps to mixing the batter that need to happen separately for the banana bread to turn out right.
- Butter and sugar are creamed together. This step forms air bubbles, which will help the banana bread rise properly in the oven. The sugar is needed here because the rough edges of the sugar crystals help carve out pockets for those air bubbles. Adding other ingredients too soon would interrupt this process.
- Egg is added. Once the sugar & butter mixture is light and fluffy from the air bubbles, the egg is added gradually to help keep the batter smooth. The fat in the butter won’t want to mix with the liquids you’ll add later, but egg contains an emulsifier that helps bind them, which is why it’s added beforehand.
- Dry and wet ingredients are added in alternating order. Adding these ingredients in smaller portions instead of dumping them all in at once avoids knocking out the air bubbles from the creaming step. Plus, switching between dry and wet ingredients allows the dry ingredients to fully absorb the liquids. Finally, adding the dry ingredients in stages and gently mixing them limits the formation of gluten (the stuff that makes bread chewy). This helps keep the banana bread tender.
All this to say: when following a recipe, pay attention to the order in which ingredients are added, and try not to rush the process.
For more details, check out these articles from Serious Eats on creaming butter and sugar, mixing cake batter, and perfecting technique in a cake recipe.
Maple Streusel Banana Bread
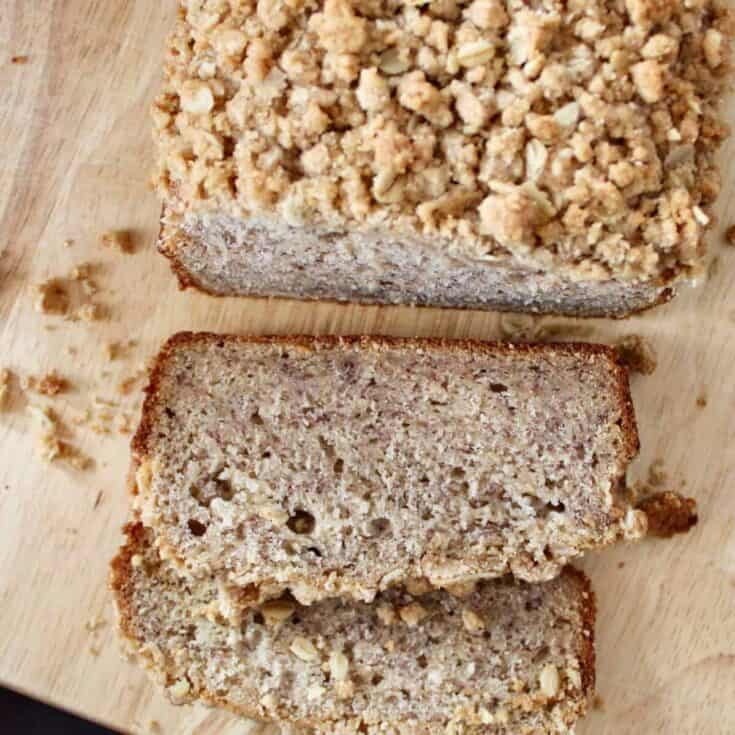
A tender loaf packed with flavor from caramelized banana purée and topped with crunchy maple streusel
Ingredients
- 4 large, very ripe bananas (350 g.)*
- 1 tsp. cinnamon
- 2 cups all-purpose flour (240 g.)
- ½ tsp. salt
- ½ tsp. baking soda
- 1 tsp. baking powder
- ½ cup buttermilk (113 g.)
- ½ Tbsp. vanilla extract
- 8 Tbsp. unsalted butter, softened to room temperature (1 stick; 113 g.)
- ¾ cup sugar (150 g.)
- 1 egg, beaten (50 g.)
Maple Streusel (Adapted from King Arthur Baking)
- ½ cup all-purpose flour (60 g.)
- ¼ cup brown sugar (53 g.)
- ¼ cup rolled oats (23 g.)
- Pinch of kosher salt
- ⅛ tsp. maple extract
- 4 Tbsp. unsalted butter, softened to room temperature and cubed (57 g.)
Instructions
- Mash the bananas into a purée that is mostly smooth with some small chunks. (I find this easiest to do on a plate with a fork.)
- Scrape the banana purée into a small/medium nonstick pan and set to medium heat. Add the cinnamon, then stir occasionally with a silicone spatula or wooden spoon until the purée starts to bubble. Let it cook for about 7 minutes, stirring frequently, until it has slightly darkened and thickened.
- Remove purée from the pan and allow to cool to room temperature. To do this quickly, spread the purée back onto the plate and chill it in the fridge until step 5. It should equal about 1 cup; if you have much more, save the extra for another use.
- Preheat oven to 325° F and line a 9x5” metal loaf pan with parchment paper. Grease the pan with butter or spray with baking spray.
- In a medium mixing bowl, whisk together the flour, salt, baking soda, and baking powder. In a separate bowl or large measuring cup, whisk together the buttermilk and vanilla. Once the banana purée has cooled, whisk it into the wet ingredients.
- In the bowl of a stand mixer with a paddle attachment, beat the sugar and butter together at medium speed, stopping to scrape the bowl occasionally with a spatula, until pale and creamy with airy peaks (AKA “light and fluffy”). This should take about 3–5 minutes, but the time can vary depending on your kitchen/butter temperature. If using a handheld mixer, this step may also take a few minutes longer.
- Stop the mixer to scrape down the sides of the bowl, then turn to medium-high speed and drizzle in the beaten egg. Continue mixing until thoroughly combined.
- With the mixer off, add about ⅓ of the dry ingredients. Mix on the lowest speed until the dry ingredients are mostly incorporated, with a few streaks here and there.
- With the mixer running on low, add about ½ of the wet ingredients (stir in the cooled banana first if you haven’t already!) and continue mixing just until combined. Stop the mixer and scrape down the sides of the bowl.
- Repeat with half of the remaining dry ingredients followed by the remaining wet ingredients. Scrape down the sides of the bowl, then add the rest of the dry ingredients and mix on low just until incorporated.
- Scrape the bowl for any unincorporated ingredients, then pour the batter into the prepared pan and smooth the top so it is mostly even.
- Prepare the streusel: In a medium mixing bowl, stir together the flour, brown sugar, oats, and salt with a fork, then stir in the maple extract. Add the cubed butter, then mash it into the dry ingredients with the fork, stirring occasionally to break up the butter. Continue mashing and stirring until the mixture looks like small crumbles.
- Sprinkle the streusel over the batter in the pan, breaking up larger clumps as needed so that the crumbles are roughly evenly sized.
- Bake for about 45–50 minutes, until a knife inserted into the center of the bread comes out clean (a few crumbs are OK). In the last 15 minutes of baking, keep an eye on the streusel to make sure it does not burn. If it starts to get dark, cover gently with aluminum foil.
- Let the bread cool in the pan for a couple of minutes, then gently remove from the pan onto a wire rack. Once it has cooled completely, wrap the banana bread tightly in plastic wrap and store in an airtight container. Banana bread will last 4–5 days stored at room temperature or about 3 months if frozen.
Notes
*Since bananas vary widely in size, I stick to weight measurements when baking with them. If you don't have a kitchen scale, use 4 large bananas and measure out 1 cup of cooked purée after step 2. You can always add leftover purée to oatmeal or pancakes!
Maple streusel adapted from King Arthur Baking's Streusel Topping
Other delicious banana bread recipes referenced: My Favorite Banana Bread from Sally's Baking Addiction, Cinnamon Crumb Banana Bread from Little Bits of Real Food