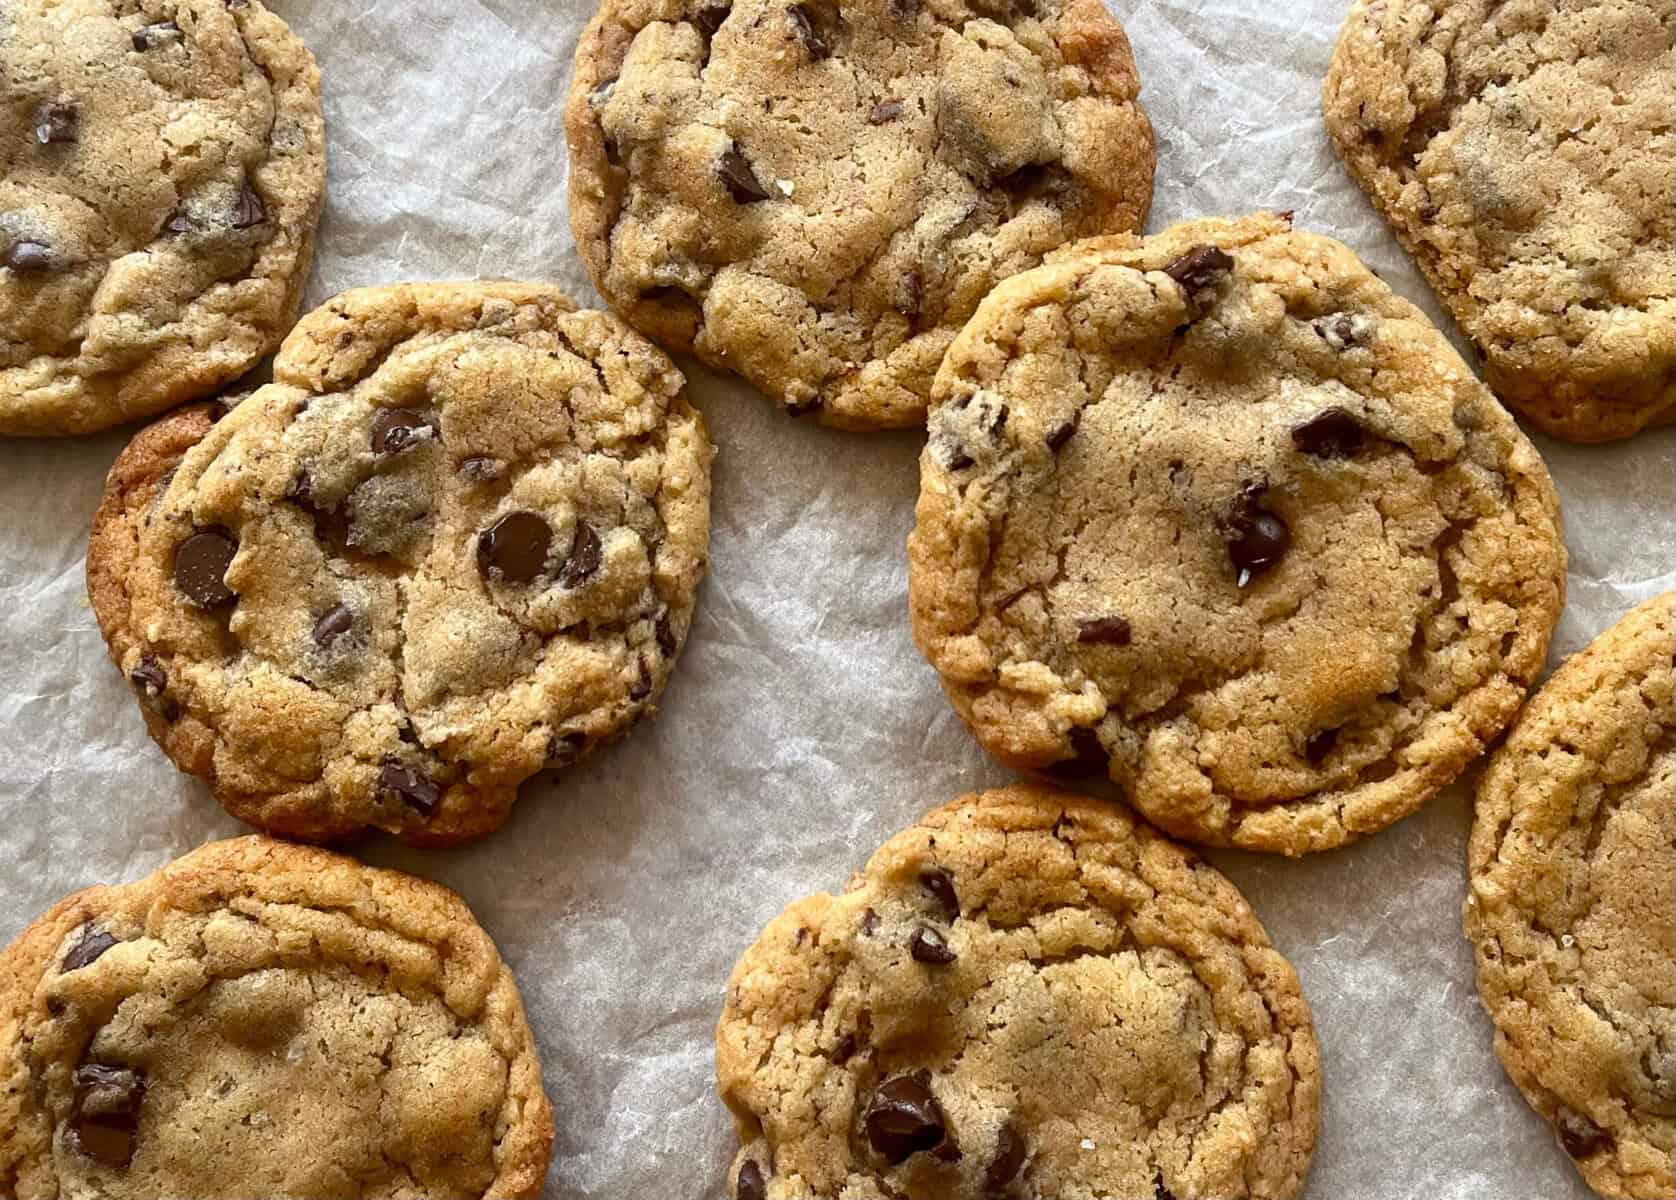
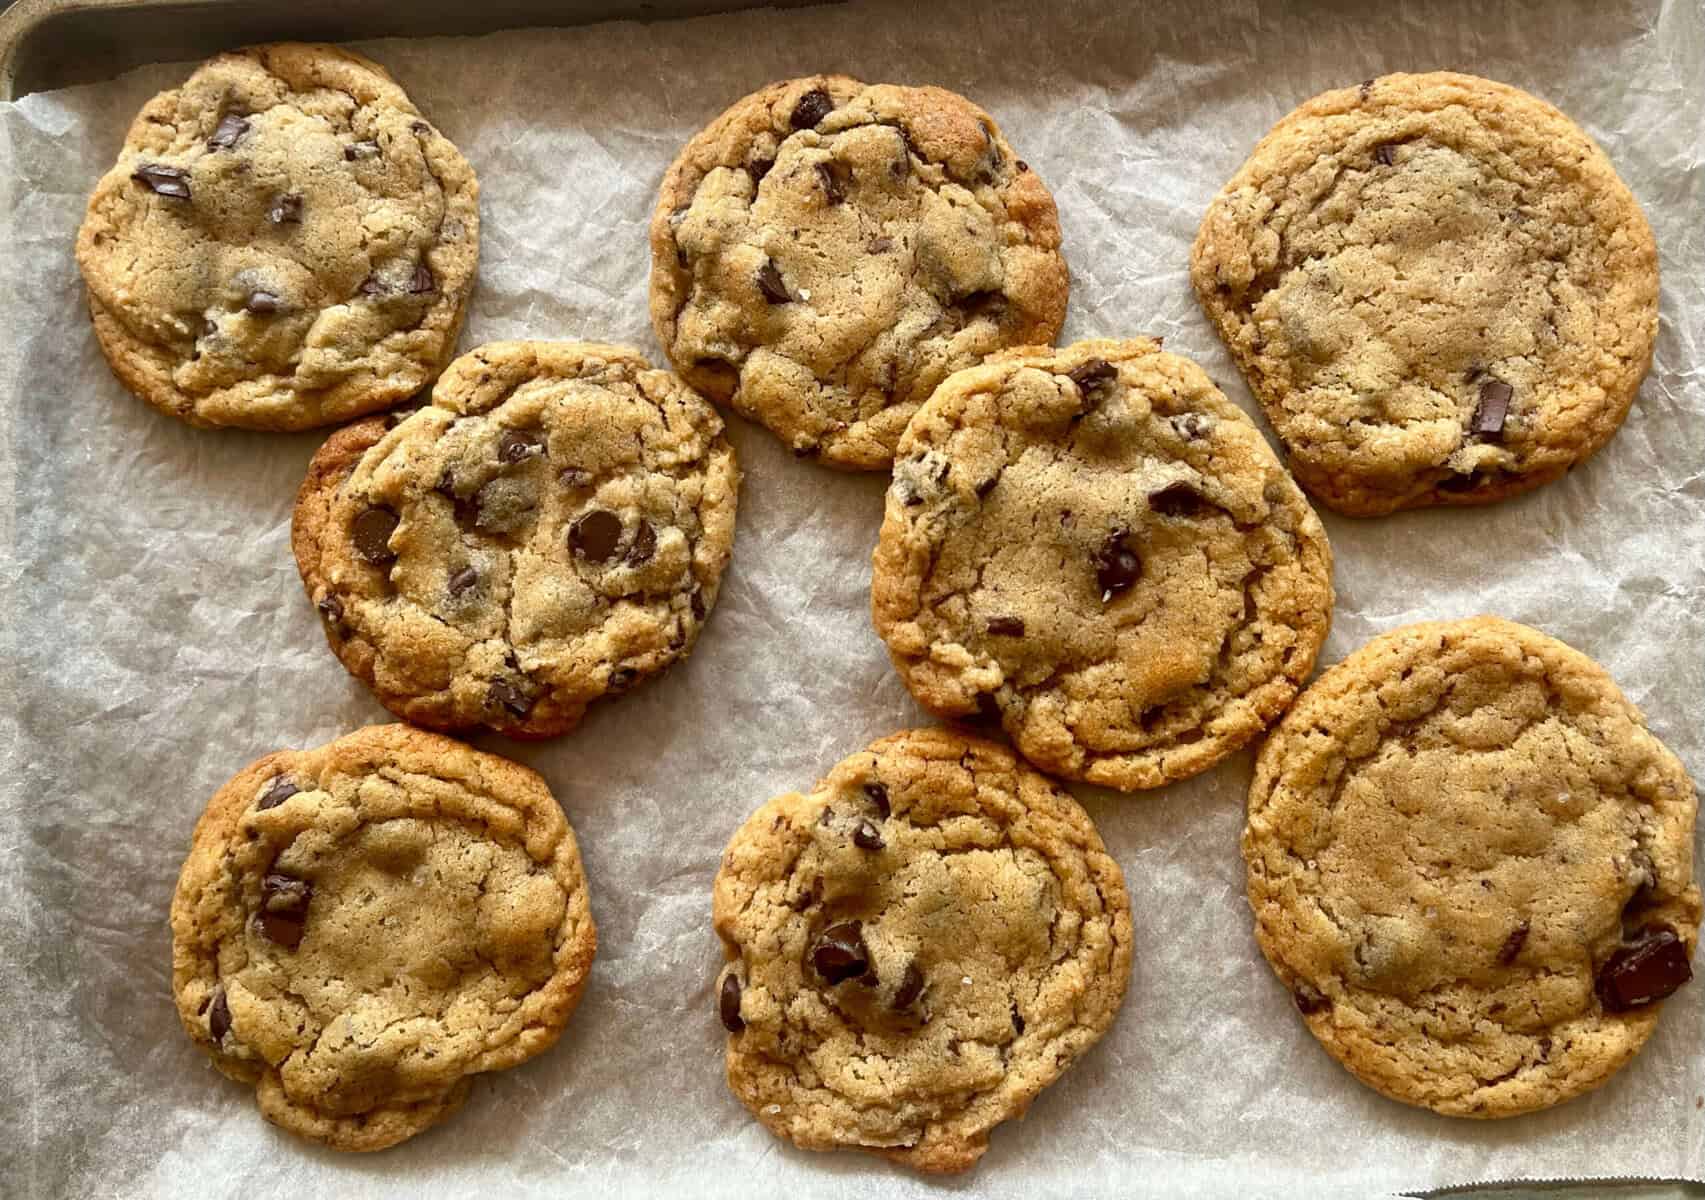
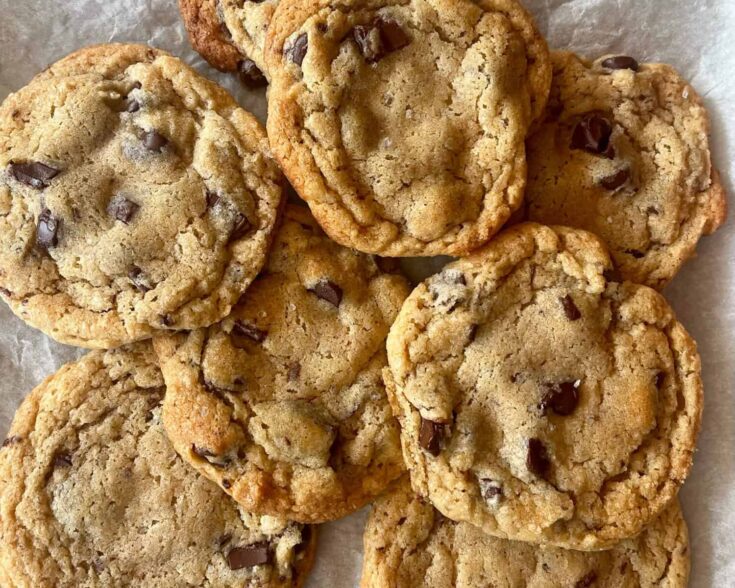
Finally, my perfect chocolate chip cookie: fudgy and chocolatey, with a dough that’s delicious on its own!
I have commitment issues when it comes to cookies. Especially chocolate chip cookies. For the past twelve years or so, I’ve tried so many chocolate chip cookie recipes, hoping to find the absolute perfect one I can come back to again and again. And for the most part, they were great…but there would always be something I wished were slightly different.
I was basically the goldilocks of chocolate chip cookies. Some cookies were nice and soft, but too cakey. Others had a thick, substantial quality I loved, but were too crispy or chewy. And most of the time, I felt like the dough lacked flavor. Was there not enough salt or vanilla? Too much granulated sugar? Or was I living a lie and deep down in my heart only wanted to eat chocolate chips, not a chocolate chip cookie?!
After much trial and error and a minor identity crisis, I realized a couple of things: 1. I didn’t just want a chewy chocolate chip cookie, I wanted a fudgy cookie; and 2. I craved a dough that was interesting on its own, not merely as a vehicle for mix-ins.
Fudginess & Flavor
The key to my preferred texture turned out to be melting the butter, not creaming it. This made sense, since I love the texture of dense, fudgy brownies made with melted butter. Unfortunately, melting the butter tends to make cookie dough spread more, and I didn’t want a flat, crispy cookie. Some recipes will call for larger amounts of flour to offset this, but additional flour just made the dough taste…floury. Instead, I played with the baking temperature and time. Raising the bake temperature from 350° to 375° F did the trick, helping the cookies to set most of the way before spreading too much, staying tender in the middle.
Now, I just needed something to add a little interest to the dough. Sure, it’s not the star of the show, but there are no small parts, baby! I wanted best-supporting-actor dough! Anyway, I remembered reading Stella Parks’ article about baking with malted milk powder and decided to try it. Sure enough, the malted milk powder gave the dough a distinct, slightly butterscotch-y flavor. Hence: malted milk chocolate chip cookies. Now, if you really want a strong malty flavor, you can definitely add more milk powder than I did. To me, the malt flavor in this recipe is subtle enough to work for an all-around chocolate chip cookie.
All that said, I should probably call this *a* perfect chocolate chip cookie. I like variety, and will have days when that crispy, Tollhouse-style cookie just hits the spot. (And I’m already thinking about a browned-butter version of this recipe.) But this recipe filled a maddening gap in my cookie repertoire, and I hope you find it as satisfying as I do.
Malted Milk Chocolate Chip Cookies: What to Know
- Malted Milk Powder: This is a mix of malted barley/wheat and evaporated milk powder that enhances the flavor of the cookie dough. Many grocery stores carry the Carnation brand (just labeled “malted milk” and usually stocked near chocolate milk powders). Ovaltine is another popular option, but make sure to buy their plain malted milk powder, not chocolate malt powder. (Unless you want to add a subtle chocolatey flavor to the dough, which sounds kind of awesome. Please tell me all about it if you do.)
- Chilling the dough: Unfortunately, chilling the cookie dough for at least 8 hours and up to 3 days is important for this recipe, since the dough is soft and prone to spreading. Luckily, like fine wine and many a cheese, a little age makes it extra tasty. I recommend scooping the dough into balls before chilling, since it will become very firm in the fridge. Check out the Tip of the Day for more info and a compromise when you want cookies NOW.
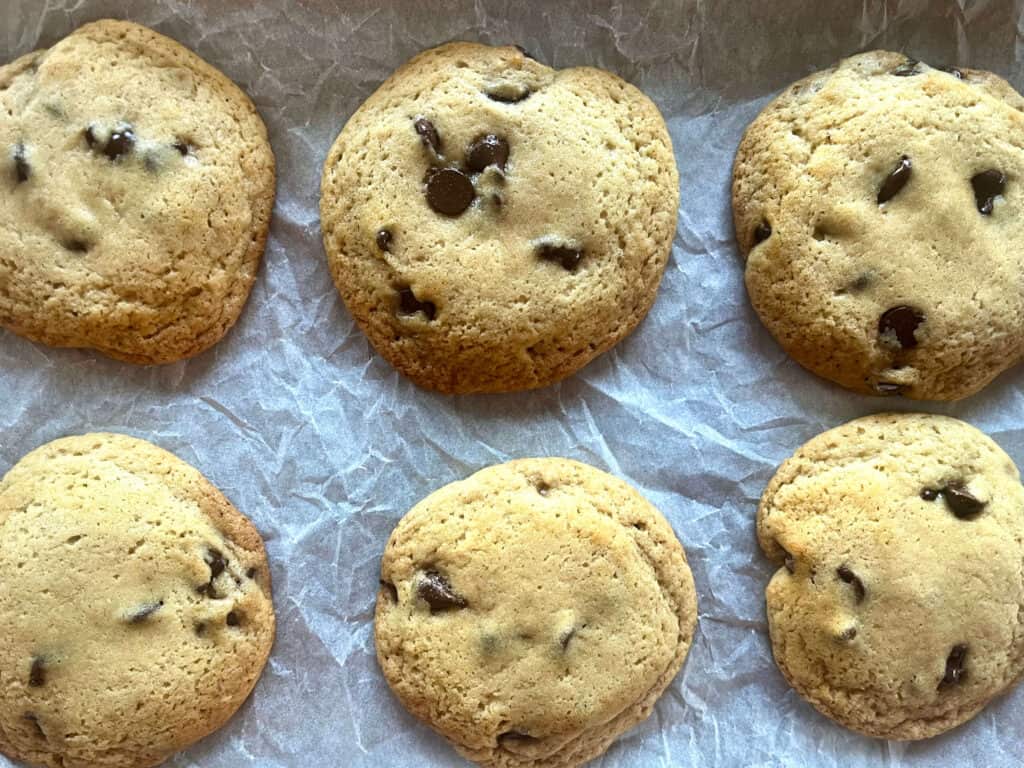
- Nailing the bake time: My target bake time for this recipe is about 8 minutes in a fully preheated 375° F oven. However, every oven is different, so I recommend checking early for visual signs that your cookies are done. For fudgy cookies, take them out when they’re lightly browned on the edges and look slightly shiny in the middle. They’ll seem underbaked (and are, by traditional standards) but will be well past 165° F, the required temperature to kill bacteria in the eggs. That said, if a chewier cookie is what you’re going for (you do you), bake them a minute or two longer, until they look completely matte and are starting to brown throughout.
Tip of the Day: Chill (Your Dough) Out, Man
One of the draws of chocolate chip cookies is that they generally come together quickly and have a fairly short bake time. So they’re a great option for instant sweet-tooth gratification, right? Well, not if you want to maximize their flavor and texture. Chilling cookie dough improves the cookies in several ways:
- It dries out the dough, giving it bolder, more concentrated flavors.
- It keeps the fat in the dough cold, which helps the cookies hold their shape in the oven and spread less.
For this recipe, chilling the dough is especially important to limit spreading, since the melted butter makes the cookies want to spread more.
“But I don’t want to wait to eat cookies,” you may be thinking, “I want them now!” I hear you. So when you make these cookies—or the next time you make another favorite drop cookie—here’s what you’re going to do: You’re going to scoop the cookies into balls to chill like a good little chef, then take a few and pop them into a couple of buttered ramekins, or any baking dish that you can press them to a thickness of about 1 inch in. You’ll bake those until set, typically a couple of minutes longer than the regular bake time, and eat them with a scoop of ice cream. The next day, you’ll bake your chilled cookies and enjoy the best of both worlds. Hooray!
(Also, if you want to know how any possible factor could impact how your chocolate chip cookies turn out, check out this delightfully comprehensive article by J. Kenji López-Alt.)
Malted Milk Chocolate Chip Cookies
Ingredients
- 18 Tbsp. butter, cut into chunks (2 ¼ sticks; 254 g.)
- 3 ¼ cups all-purpose flour (415 g.)
- 1 tsp. baking powder
- 1 tsp. baking soda
- 1 ½ tsp. kosher salt OR 1 tsp. table salt
- 6 Tbsp. malted milk powder (53 g.)
- 1 cup brown sugar (213 g.)
- ¾ cup granulated sugar (149 g.)
- 2 large eggs (100 g.)
- 1 Tbsp. vanilla extract/flavoring
- 12 oz. chopped chocolate or chocolate chips of choice* (340 g.)
Instructions
- Line 1–2 large baking sheets with parchment paper.
- Melt butter in a saucepan over low heat, or in the microwave
for 30-second increments, stirring in between. Try not to let the butter start to simmer. Once melted, transfer to a large bowl to cool slightly. - Whisk together the flour, baking powder, baking soda, salt, and malted milk powder in a medium bowl, then set aside.
- Whisk the sugars into the butter until well incorporated, about 1 minute. The mixture should look like wet sand, with no melted butter pooling on top. At this point, the mixture should be about room temperature; if it still feels warm to the touch, let it sit or refrigerate a few minutes until cooled.
- Whisk the eggs into the sugar/butter mixture one at a time until fully incorporated; the mixture should start to look thick, smooth, and matte. Whisk in the vanilla.
- Fold** the dry ingredients (flour mixture) into the wet ingredients (egg mixture) with a rubber spatula until the flour is mostly mixed in and you see just a few powdery streaks.
- Fold the chocolate chunks/chips into your dough until evenly mixed in, scraping down the sides of the bowl to bring in any last powdery bits. At this point, your dough should be very soft and slightly tacky.
- Using a cookie scoop or round tablespoon, scoop out balls of dough, about 2 Tbsp. of dough per ball, and place on the parchment-lined sheet(s). Leave about 2 inches of space between each dough ball (or place them closer together to chill, then spread them out before baking). Cover the sheets with plastic wrap, then press down gently on the dough balls to flatten them slightly so they’re about 1 inch tall. Refrigerate overnight or up to 3 days.
- When ready to bake, set 1 or 2 oven racks to the middle slot(s) and preheat the oven to 375° F.
- If needed, re-position cookie dough balls so they are spaced
about 2 inches apart. - Bake for 7–9 minutes, until the edges are starting to brown and the cookies look slightly shiny in the middle. If baking multiple trays at a time, switch the trays between the oven racks halfway through baking.
- Let cookies cool on the tray(s) for at least 20 minutes to set in the middle. If transporting the cookies, I recommend letting them cool for an hour first. Enjoy!
Notes
*For the chocolate, feel free to use any combination of chips and chopped chocolate. I've made these cookies with semi-sweet chips only and with a mix of milk chocolate, dark chocolate, and butterscotch chips and chunks.
**If you’re not sure how to fold, this video gives a helpful visual: https://www.youtube.com/shorts/59KCPMqnbHk
A few great cookie recipes that inspired me: Tara O'Brady's Basic, Great Chocolate Chip Cookies; New York Times’ Chocolate Chip Cookies; Pinch of Yum Best Soft Chocolate Chip Cookies
Malted Milk Chocolate Chip Cookie FAQ
- What do you use malted milk powder for besides cookies?
To use up that canister of malted milk, try adding some to hot chocolate to taste or sneaking a couple of tablespoons into baking mixes. Of course, you can also make a good old-fashioned malt shake, or this phenomenal ice cream version. If you want to get really experimental, this article from King Arthur Baking gives some great tips on how to adjust recipes to add malted milk powder. - Why are my cookies flat?
These cookies are naturally thinner than chunky, bakery-style cookies because of the melted butter; on the plus side, this is what gives them their fudgy rather than crunchy/strictly chewy texture. However, if your cookies spread more than expected, it could be that your oven runs cooler or wasn’t fully preheated. Baking cookies directly on a metal tray without parchment can also increase their spread, as can allowing the cookie dough to warm up before baking it. For best results, leave the cookie dough balls in the fridge until the oven is fully preheated, and bake them on a tray lined with parchment paper. - Can I freeze the cookie dough to bake later?
Absolutely! This cookie dough freezes very well and is easy to bake from frozen. I recommend freezing the dough after scooping and chilling in the refrigerator for at least 8 hours (unfortunately, freezing the dough doesn’t have the same flavor-enhancing benefits that refrigeration does). After chilling, place the dough balls in an air-tight container or freezer bag, separating layers with parchment paper or plastic wrap to keep the dough balls from sticking together. When you’re ready to bake them, preheat the oven as usual, and place the frozen dough balls on a parchment-lined tray. Then, bake until browned on the edges and slightly shiny in the center, around 9 minutes.